Creating Marketing Sales Handoff Notifications allows sales teams to know when a lead becomes an MQL and notifies them that the lead needs to be contacted immediately.
Setting up the Notifications
- At the top main menu, click "Workflows"

- Click "Create workflow"

- Select "From scratch" from the dropdown
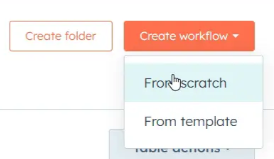
- Click Next

- Click "Set up triggers"
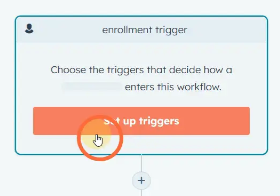
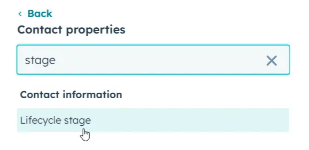
- Select "Contact properties" under filter type.

- Select "Lifecycle stage"
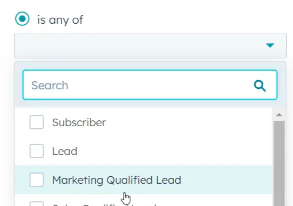
- Select "is any of" and select "Marketing Qualified Lead"
- Click Apply filter

- Click Save

- Click the "+" under the enrollment trigger
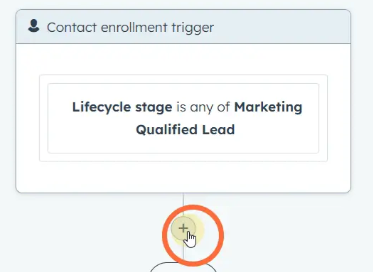
- Search for and select "Slack"
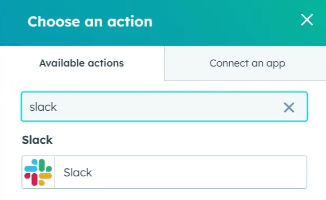
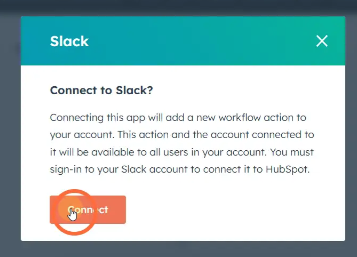
- Click "Connect"
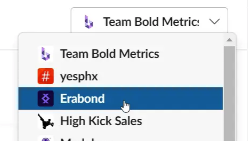
- Select the client's Slack
- Click Allow

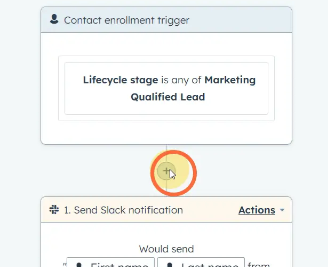
- Click the "+" under the contact enrollment trigger
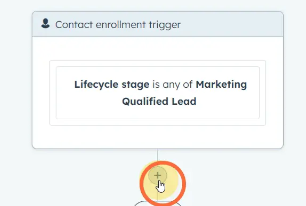
- Select "Send slack notification"

- Under "Send notification to channels" click the dropdown.
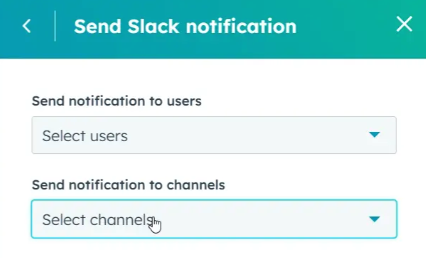
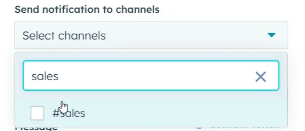
- Select the channel that the sales team is on. In this example we will select "sales"
- Click the dropdown under "Send notification to existing owners"
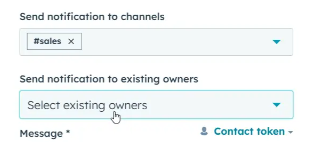
- Click the checkbox next to "Contact owner"

- Click contact token

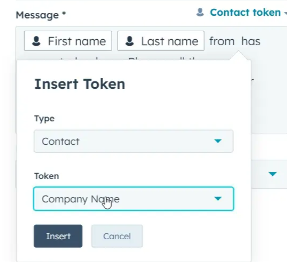
- Change type to "contact", token to "First name", and then click Insert.
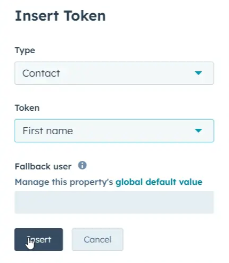
- Click Contact token again.

- Change type to "contact", token to "Last name", and then click Insert.

- After the two tokens type "has requested a demo. Please call them immediately from" and then click "contact token" again.
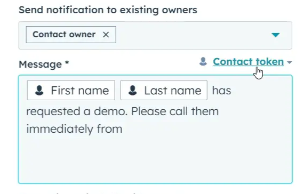
- Change type to "contact", token to "Phone Number", and then click Insert.
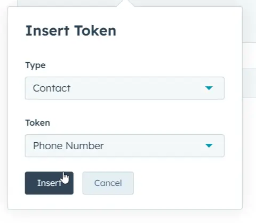
- After the Phone Number token type ". Their email address is:" and then click "Contact token" again.

- Change type to "contact", token to "email", and then click Insert.
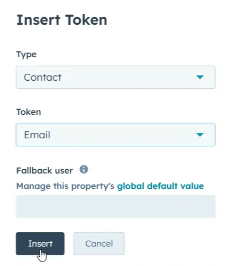
- Change type to "contact", token to "Company Name", and then click Insert.
- Copy the entire Message
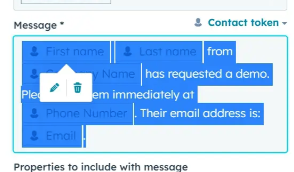
- Click Save

- Click the "+" above "send slack notification"
- Search for and select "Rotate record to owner"
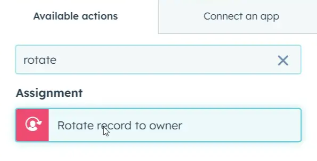
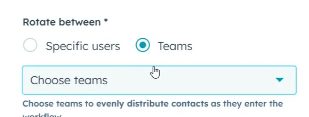
- Under "rotate between" select "Teams"
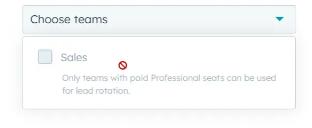
- Choose "Sales"
- Click Save

Setting up Tasks
Most companies won't want a task set up, but if they do, the following steps are below
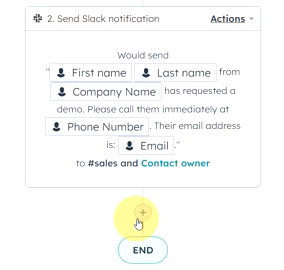
- Click the "+" under the "Send slack notification"
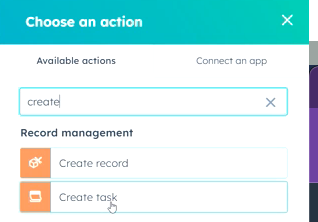
- Search for and select "Create task"
- Click "contact token"
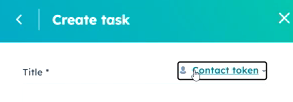
- Change type to "contact", token to "First Name", and then click Insert.
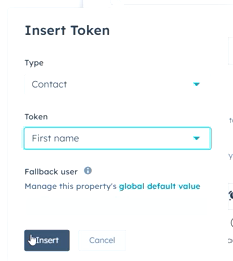
- Click contact token again.

- Change type to "contact", token to "Last Name", and then click Insert.
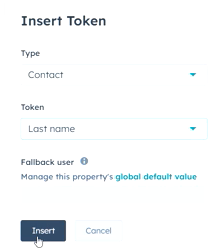
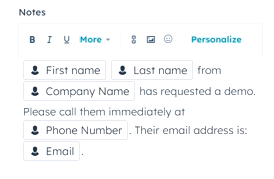
- Insert text around the tokens as displayed below

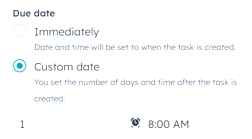
- Change the custom date to 1 day
- Paste in the "notes" text that you copied from previous steps.
- Click "Review and publish"

- Select "No, only enroll contacts who meet..."

- Click "turn on"

- In the middle top of the scree select the default title

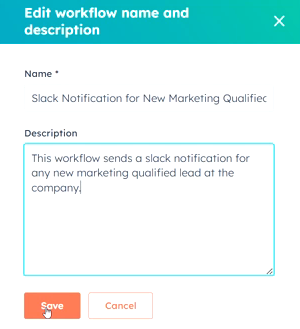
- Change the Name of the workflow to "Slack notifications for New Marketing Qualified Leads" and the Description to "This workflow sends a slack notification for any new marketing qualified lead at the company." Click Save.
Setting up Tagging
- Click "back to workflows" at the top left of the screen.

- Click "Workflows"

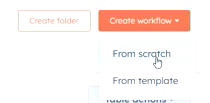
- On the top right click "Create workflow" and select "From scratch" from the dropdown.
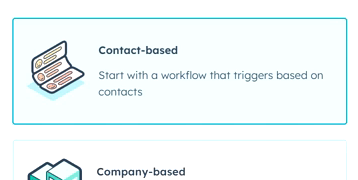
- On the left select "Contact-based"
- Click Next

- Click "Set up triggers"

- Select "Form submissions" under filter type.
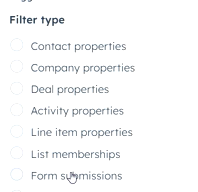
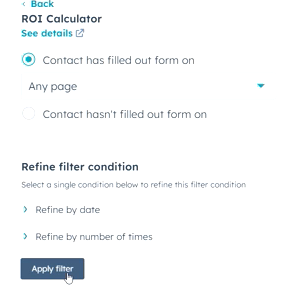
- Select "Demo" or whatever stage is the earliest. In the example below we used ROI calculator. Select Contact has filled out form and click Apply filter.
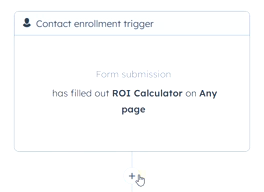
- Click the "+" below the contact enrollment trigger.
- Under Property management select "Set property value"
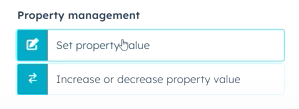
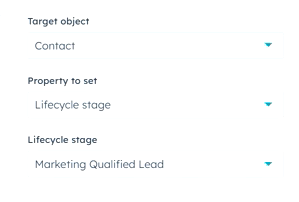
- Change Target object to "contact", Property to set "Lifecycle stage", and Lifecycle stage to "Marketing Qualified Lead".
- Click the default title at the top center of the screen.

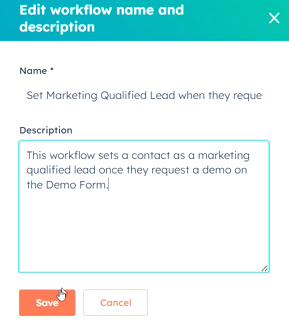
- Change the title to "Set Marketing Qualified Lead when they request a demo" and change the Description to "This workflow sets a contact as a marketing qualified lead once they request a demo on the Demo Form." Click Save.
- Click "review and publish"

- Click "no, only enroll contacts who meet..."

- Click "Turn on"

- Copy the links of the workflow and put them in the Solutions Ticket.
